WAITING FOR SPRING
ASPETTANDO
PRIMAVERA
english version -
Translation by Mina - 23.03.2018
Here you
find the original of this tutorial:
LINK
The tutorial is my work
Any resemblance to any other tutorial is purely coincidental
A special thanks
to the
Tubers who, with their effort, often unrecognized,
allow us to make our works.
The
copyright belongs to the original artist.
Required materials:
- A background landscape very colorful (not included)
-
a tube or mist of woman
(not included)
- Auraonde selection
- mask sg heart
- Narah mask 0587
lace frame
(cornice pizzo)
click to download
 my material
Filters/Plugins
- Flaming pear / Flexify 2
in the material
there is the preset for the flexify 2 filter
"aura flexyfy2
setting.q2q"
- AP line silver line
- Emboss < 3
*****
Many thanks to Renee
Graphisme for permission to use its filter page
You can change Blend Modes
and opacity of the layer, according to
your colors.
*****
Unzip material
Open all images with PSP, duplicate them and close the originals.
Never work with original images.
copy the selection aura in psp folder selections
Copy the preset Emboss 3 in the Presets
Folder
This tutorial was translated with Corel X18,
but it can also be made using other
versions of PSP.
The results might be slightly different according to the version of
PSP you use
*****
|
Clic and move the red arrow to follow the tutorial.

|
STEP 1
Open a new
transparent image, 800 x 600 px
Set your foreground
color with a light color
Set your background color with a dark color
Set your foreground color to a
Foreground/Background Gradient, style linear, invert checked
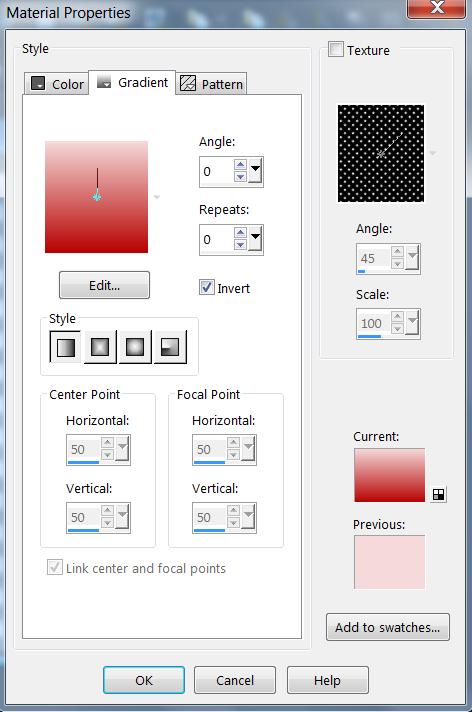
Flood Fill the
transparent image with your Gradient.
Open your very
colorful background
edit / copy
Layer / New raster layer
Selections /Select all
Edit/Paste into selection
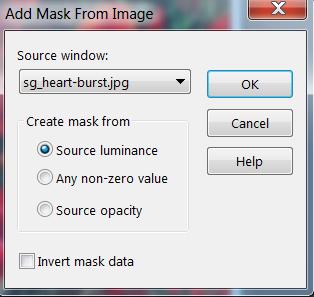
Layer /New mask layer/
from image
Load mask sg heart-burst
Layer /merge /Merge group
Selections/select none
Step 2
Placed on raster 1
Layer
/New layer
Fill flood with dark colours
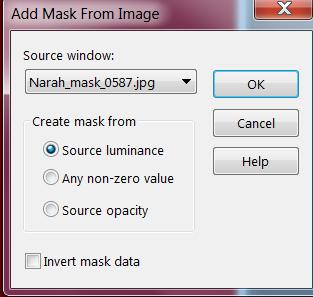
Layer/New mask layer /from image
load
Narah mask 0587
Layer /merge /Merge group
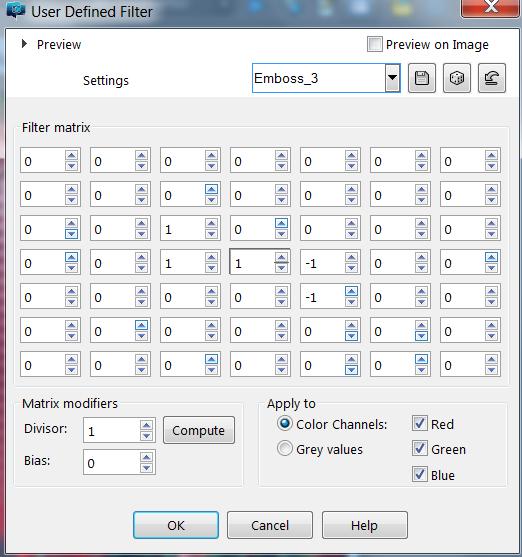
Effects/User defined
filter/
Filter defined Emboss 3
we are here
Step 3
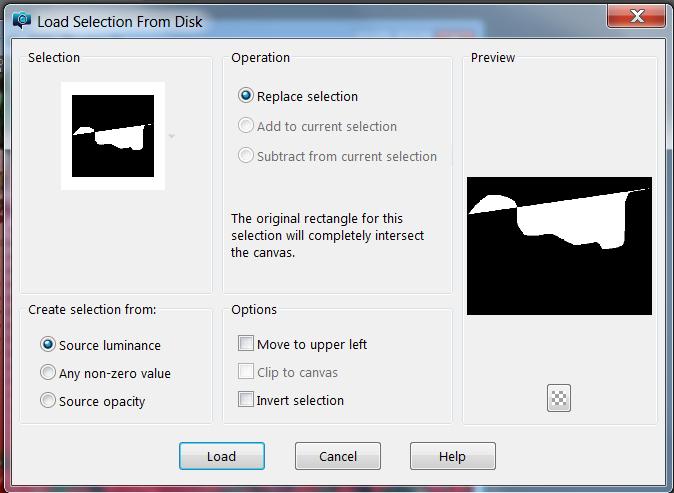
Layer/ new raster layer
Selections/Load/Save Selection/Load Selection from
disk
Load selection aura onde
Fill flood with dark color
Selections / select none
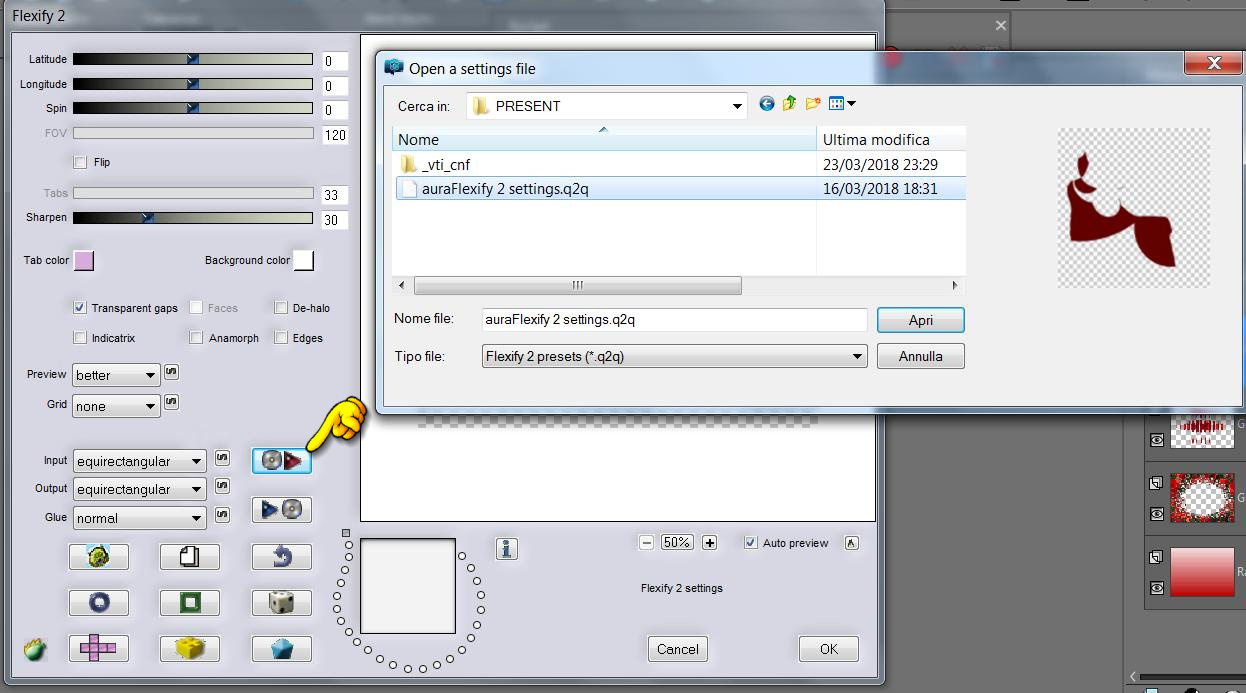
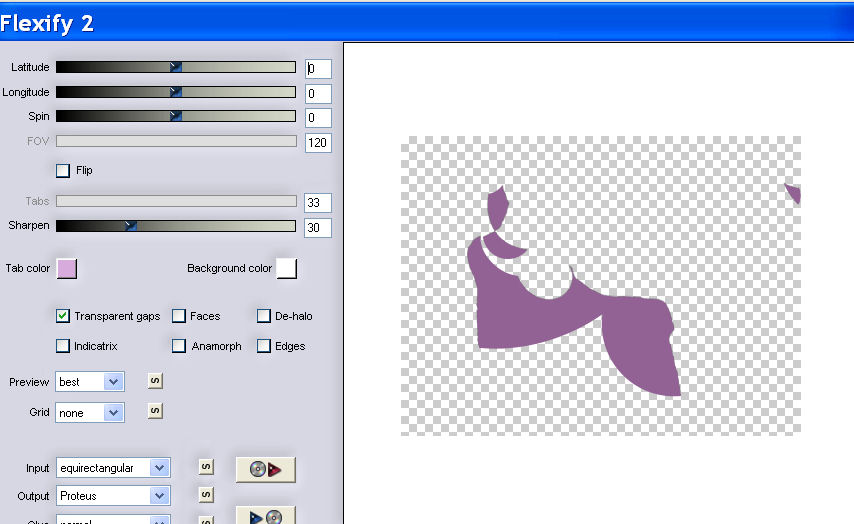
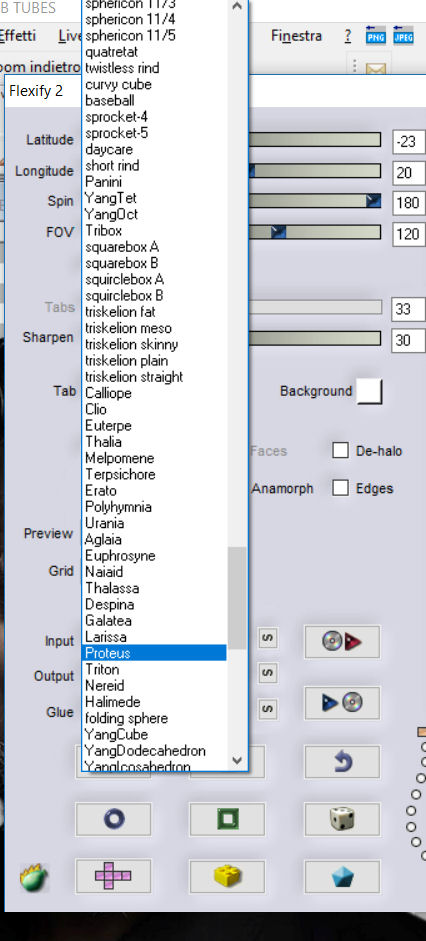
Effects/plugins/flaming
pear/flexify 2
Search the preset aura flexify 2.
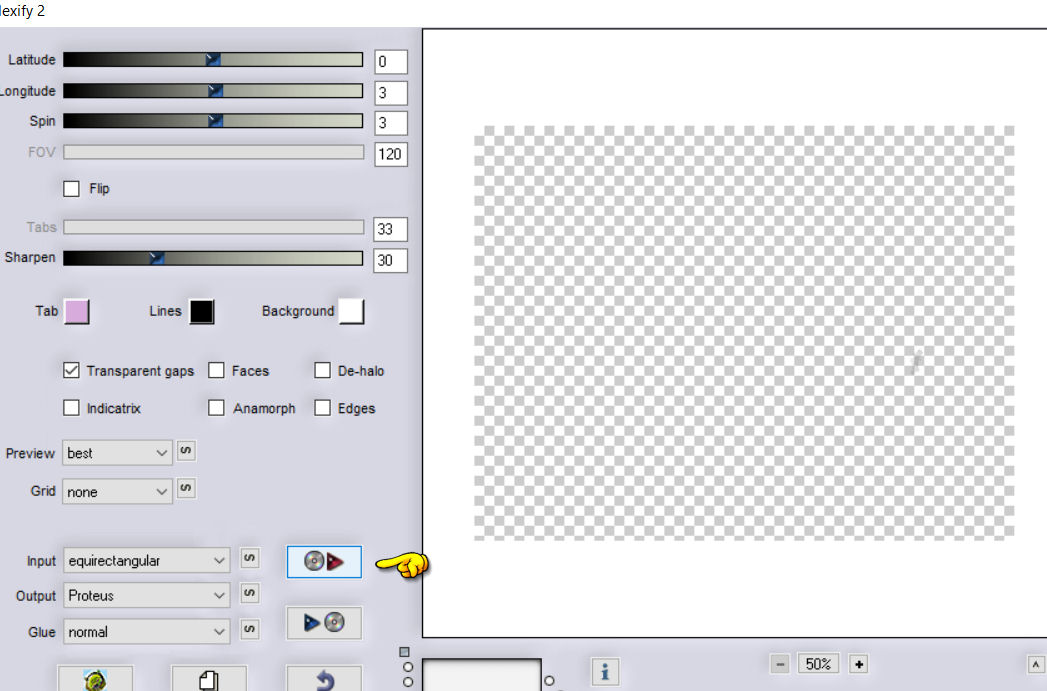
If the filter does not work:
Equirectangular
Proteus
Normal
Effects/User defined
filter/
Filter defined Emboss 3
Step 4
Layers/Duplicate layers, image flip /flip
horizontal
Layer/merge/Merge down.
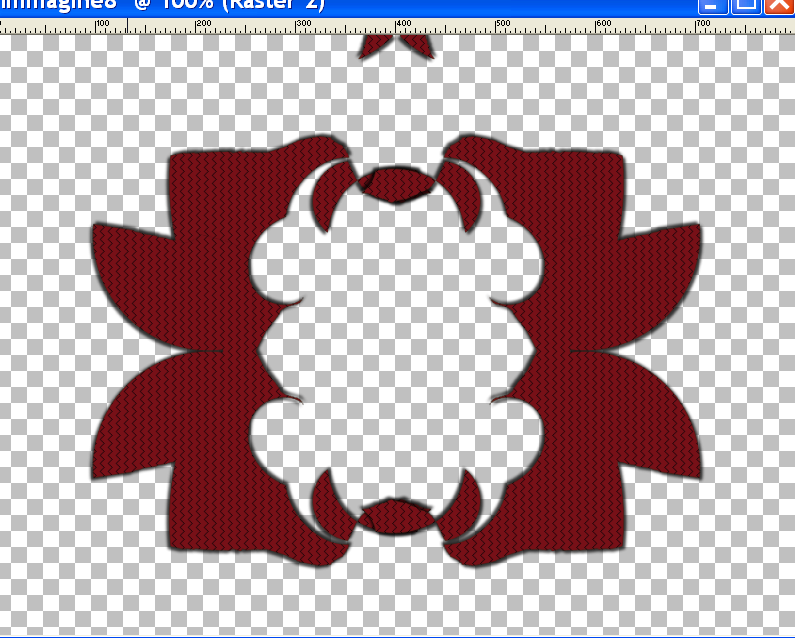
Step 5
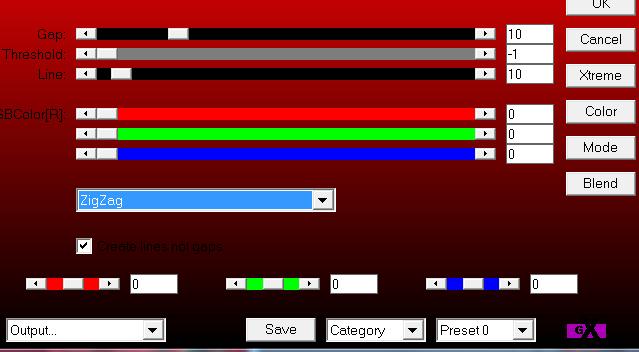
Effects /Plugins/AP lines silver lines/zigzag
Apply the filter AP lines silver line/Zigzag/
(by default)
effects/3d effects/drop Shadow 3/3/50/5
color black
also
negative -3/-3/50/5
Image resize to 80% all layers not checked
Image / free Rotate / image right 90 all layers not checked
Layers /Duplicate and flip horizontal
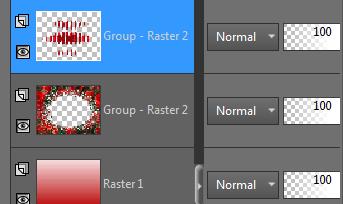
Set the two parts of the
composition as the screen below
Layers/placed on copy of raster2
layers/merge/merge down

Step 6
File/open your tube (for me tube Cal 2406 - tks Cal for the tube)
Edit/copy - Edit /paste as new layer
resize if necessary
Place it in front of or behind the composition (at your choise)
Layers / Merge all layers (flatten)
Step 7
Image/Add borders 2 px white/symetric
Image/Add borders 30 px color dark /symetric
Select with magic wand tolerance 0
selections/promote selection to layer
Layers/New raster layer
Fill flood with light color
File / open /cornicepizzo.png
Edit copy/edit paste into selection
Effects/User defined
filter/
Filter defined Emboss 3
Selections/Invert Selection
effects/3d
effects/coutout
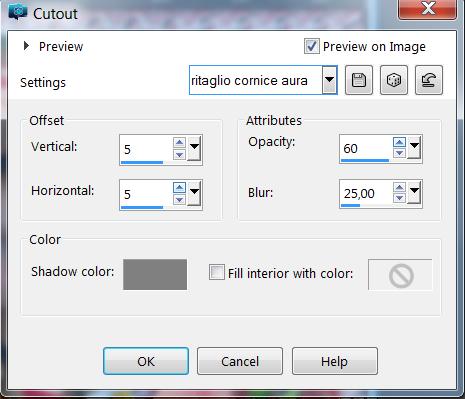
Selctions/ /select none
layers/merge all/flatten
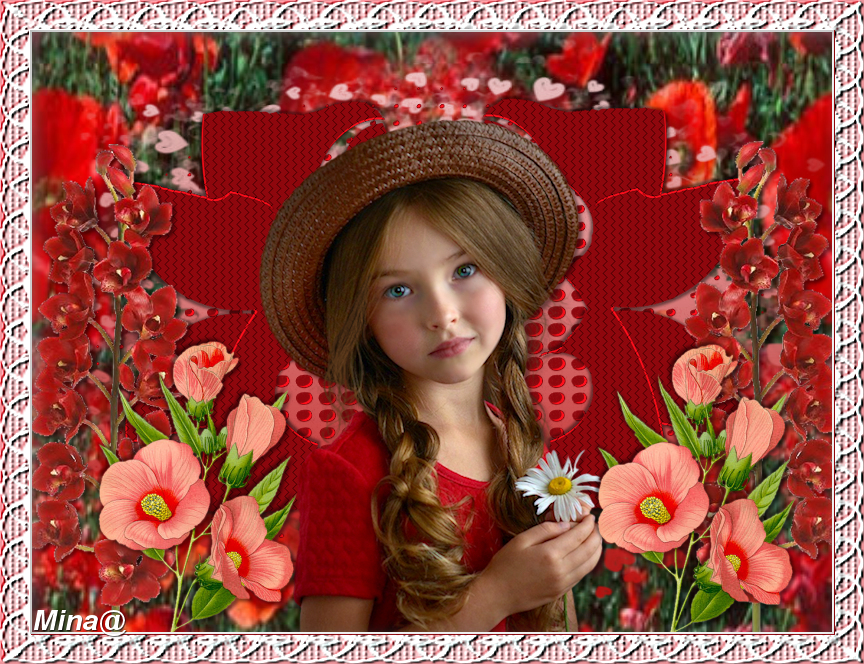
Sign your work and save as jpg
good fun
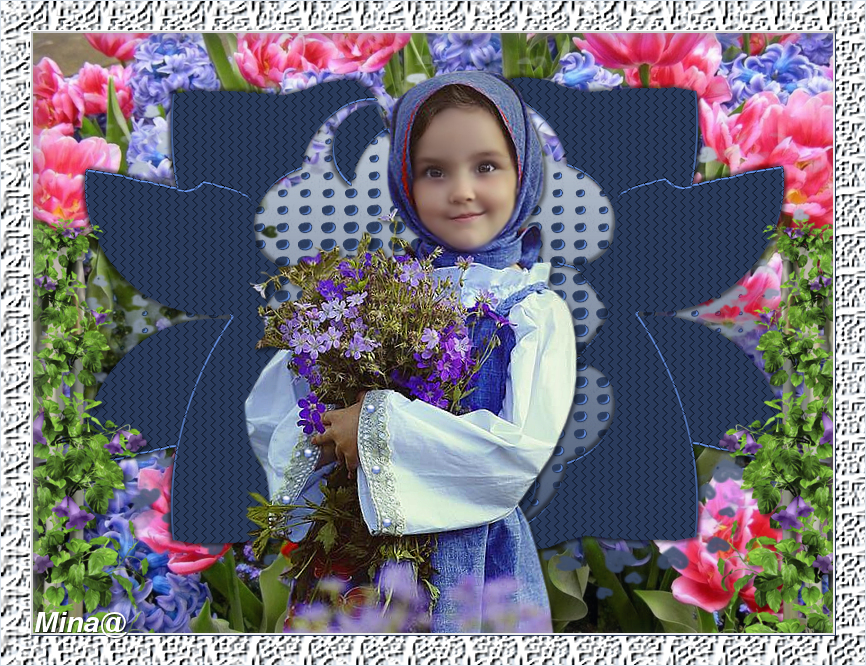
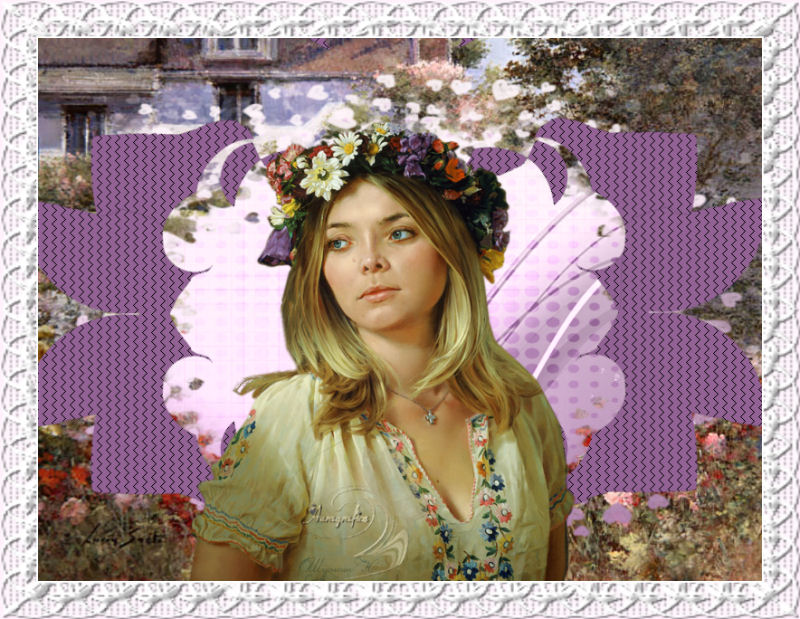
Other version Mina with tube Mina@
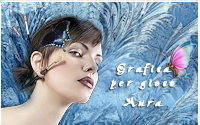
Other version Aura with mist by K @ rine
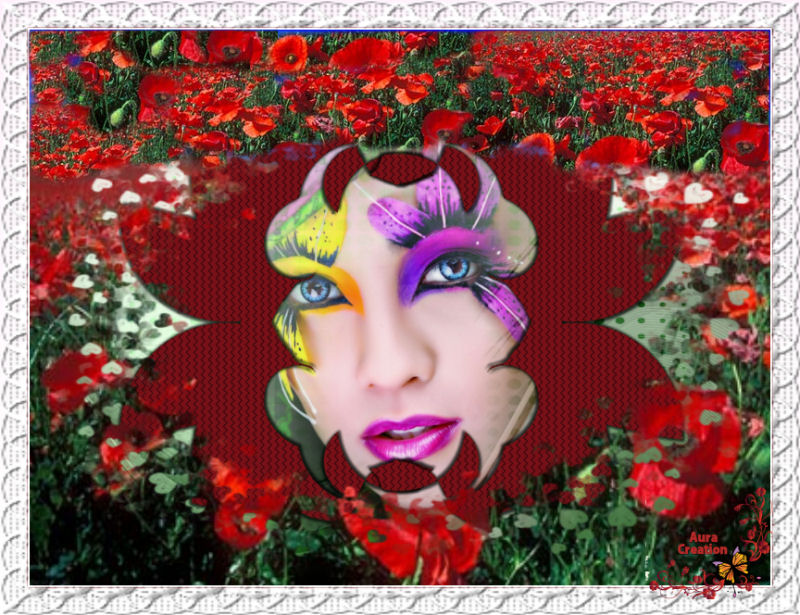
With tube Aura
If you run it, send me your version

the put in
GALLERY
THANK YOU FOR TESTING MY TUTORIAL