Step 1
Open the mask in PSP
and minimize it with the rest of the material.
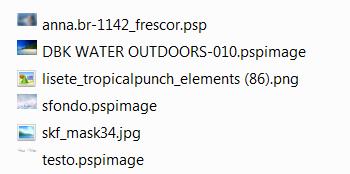
File /open /Sfondo.pspimage
File / open / DBK WATER OUTDOORS-010.pspimage
and go to Edit/ copy
Go back to your work and go to Edit/Paste
as new layer
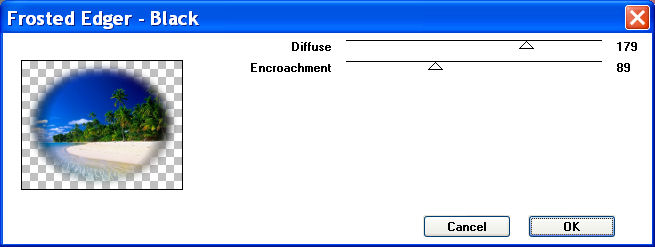
Apply Plugin : Photo tools Frosted edger black 179/89
____________________________________________
Step 2
Layer / new raster Layer
Fill flood with a color blue cobalt (for me #0763b0)
Layer
/ new mask layer / from image
Open the menu under
the source window and you'll see all the files open.
Select the mask: skf_mask34
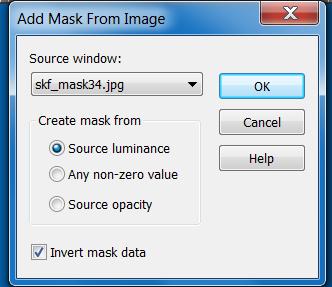
Invert mask data
checked
Layers>Merge>Merge
Group
Effects/edges effects/enhance
Layers/arrange/move down
__________________________________________________
Step 3
File / open / anna.br-1142_frescor
and go to Edit/ copy
Go back to your work and go to Edit/Paste
as new layer
place it at the bottom center
Effects/3d effects/drop shadow/ color black
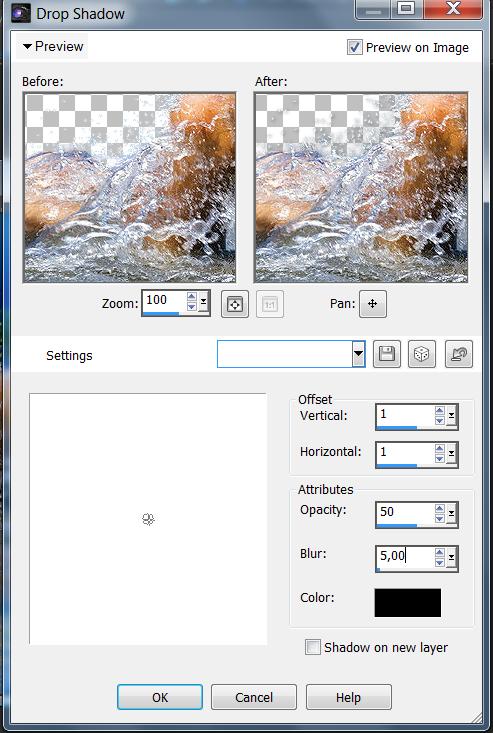
also in negative -1/-1/50/5
File / open /
lisette tropicalpungh
and go to Edit/ copy
Go back to your work and go to Edit/Paste
as new layer
and place it at the feet of the woman
Same 3dshadow effects/drop shadow/ but color white #ffffff
also in negative
Effects/edges effects/enhance
Layers/arrange/move down
__________________________________________________________________________________
Step 4
File / open /
your tube of Woman (or other) with pitcher
and go to Edit/ copy
Go back to your work and go to Edit/Paste
as new layer
Resize if necessary
Same 3dshadow effects/drop shadow/color black
repeat
also in negative -1/-1/50/5
******
Layers / Merge /
Merge visible
Image / add
borders / 1 pixel, symmetric/ black
Image / add
borders / 30 pixel, symmetric/ white
Activate the Magic Wand Tool
and click on the 30 pixels border to select it.

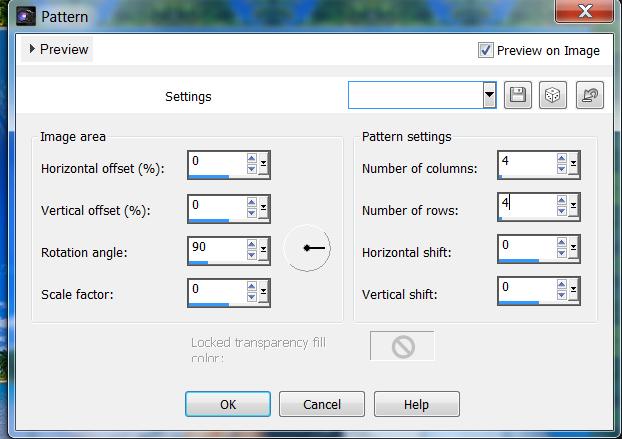
Effect/reflections
effects/patterns as example below
keep selection active
Adjust/Blur/Gaussian Blur/radius
30
_______________________________________________
Step 5
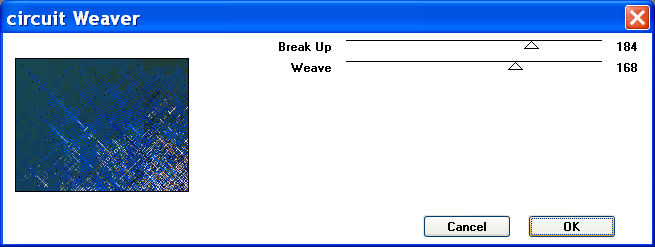
Plugins/ Apply the filter Kang 1: circuit weaver 184/168
keep selection active
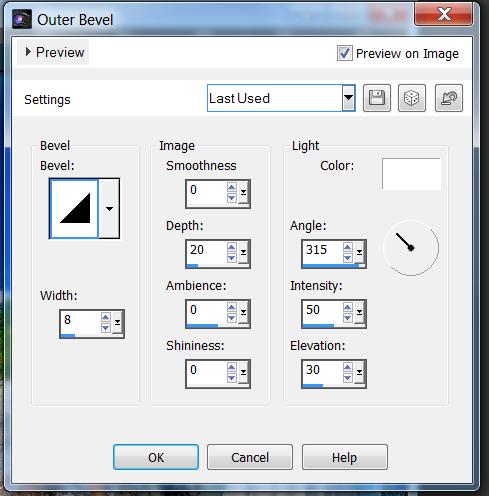
Effects/3D effects/Outer
bevel
Bevel 1/ 8/0/20/0/0
315/50/30
_________________________________________
Step 6
Selections/invert
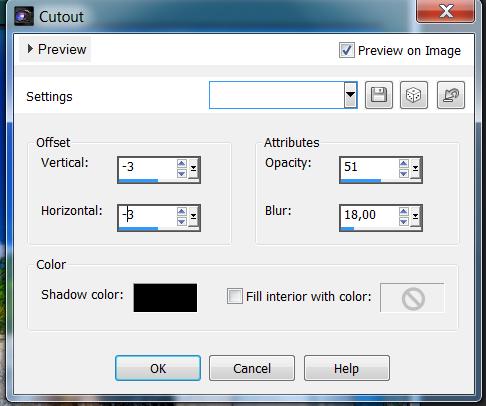
Effects/3D Effects/Cutout
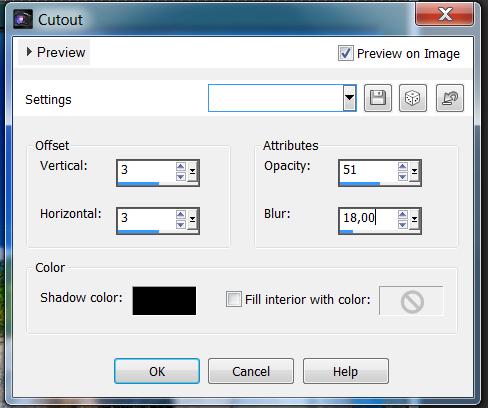
also in negative
Selections / select none
Write the text Fresh Water or use mine (included in
the material)
I used the font Aurora script
Sign your work on a new layer
Image/add borders/1, symetric/black
Save as jpg
I hope you enjoyed it.
*********************
For THOSE WHO WANT to do the animation
Layers / promote
background to layer
with the Freehand selection tool
as below

trace the water lines as in the
screen below
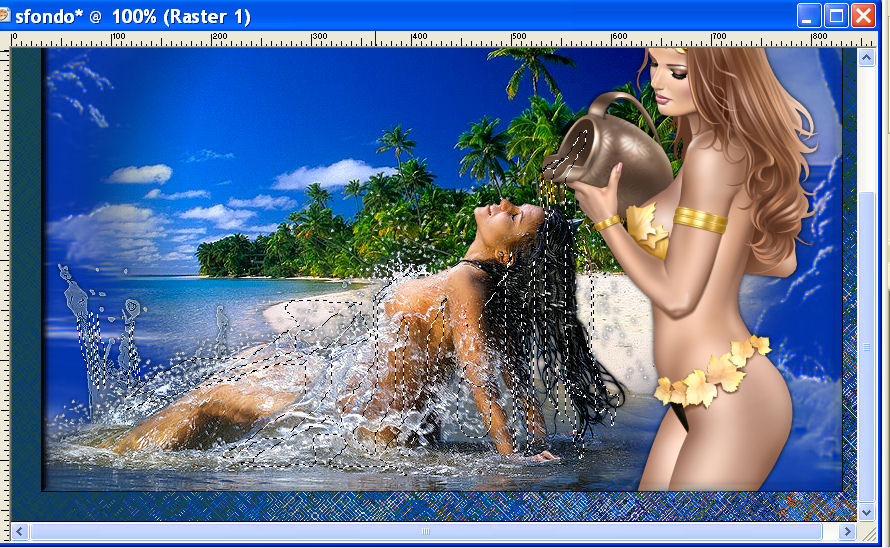
and duplicate till to have 3
levels
Activate layer 1 - open layer 1
and close the layer 2 and layer3
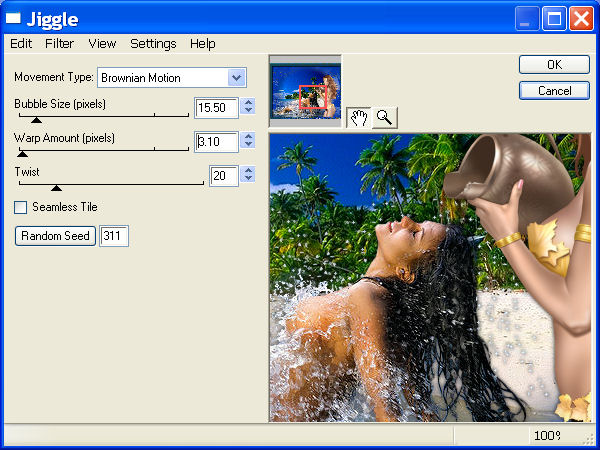
Apply the filter
Eye Candy 4000: jiggle
Brownian motion
15:50
3:10
20
Random 311
as in the screen below
Place the rectangle where there
is the woman with the pitcher
Selections/select none
Edit/ Copy
Open Animation Shop and Edit>Paste>Paste as new
image
go back to psp
Edit / Undo select none
Edit/ Undo Plugin Eye candy 4000 - jiggle
Close the layer "1" and open the layer "2"
Apply the filter
Eye Candy 4000: jiggle as above and click only on Random
Selections / select none
Edit/ Copy
Open Animation Shop and Edit>Paste>Paste after
current image
go back to psp
Edit / Undo select none
Edit/ Undo Plugin Eye candy 4000 - jiggle
Close the layer "2" and open the layer "3"
Apply the filter
Eye Candy 4000: jiggle as above and click only on Random
Selections / select none
Edit/ Copy
Open Animation Shop and Edit>Paste>Paste after
current image
View Animation
File / save / animation
**************
If you have problems or doubts,
or you find a not worked link,
or only for tell me that you
enjoyed this tutorial, write to me.
my mail

TRADUZIONE MINA
OTHER VERSIONS